
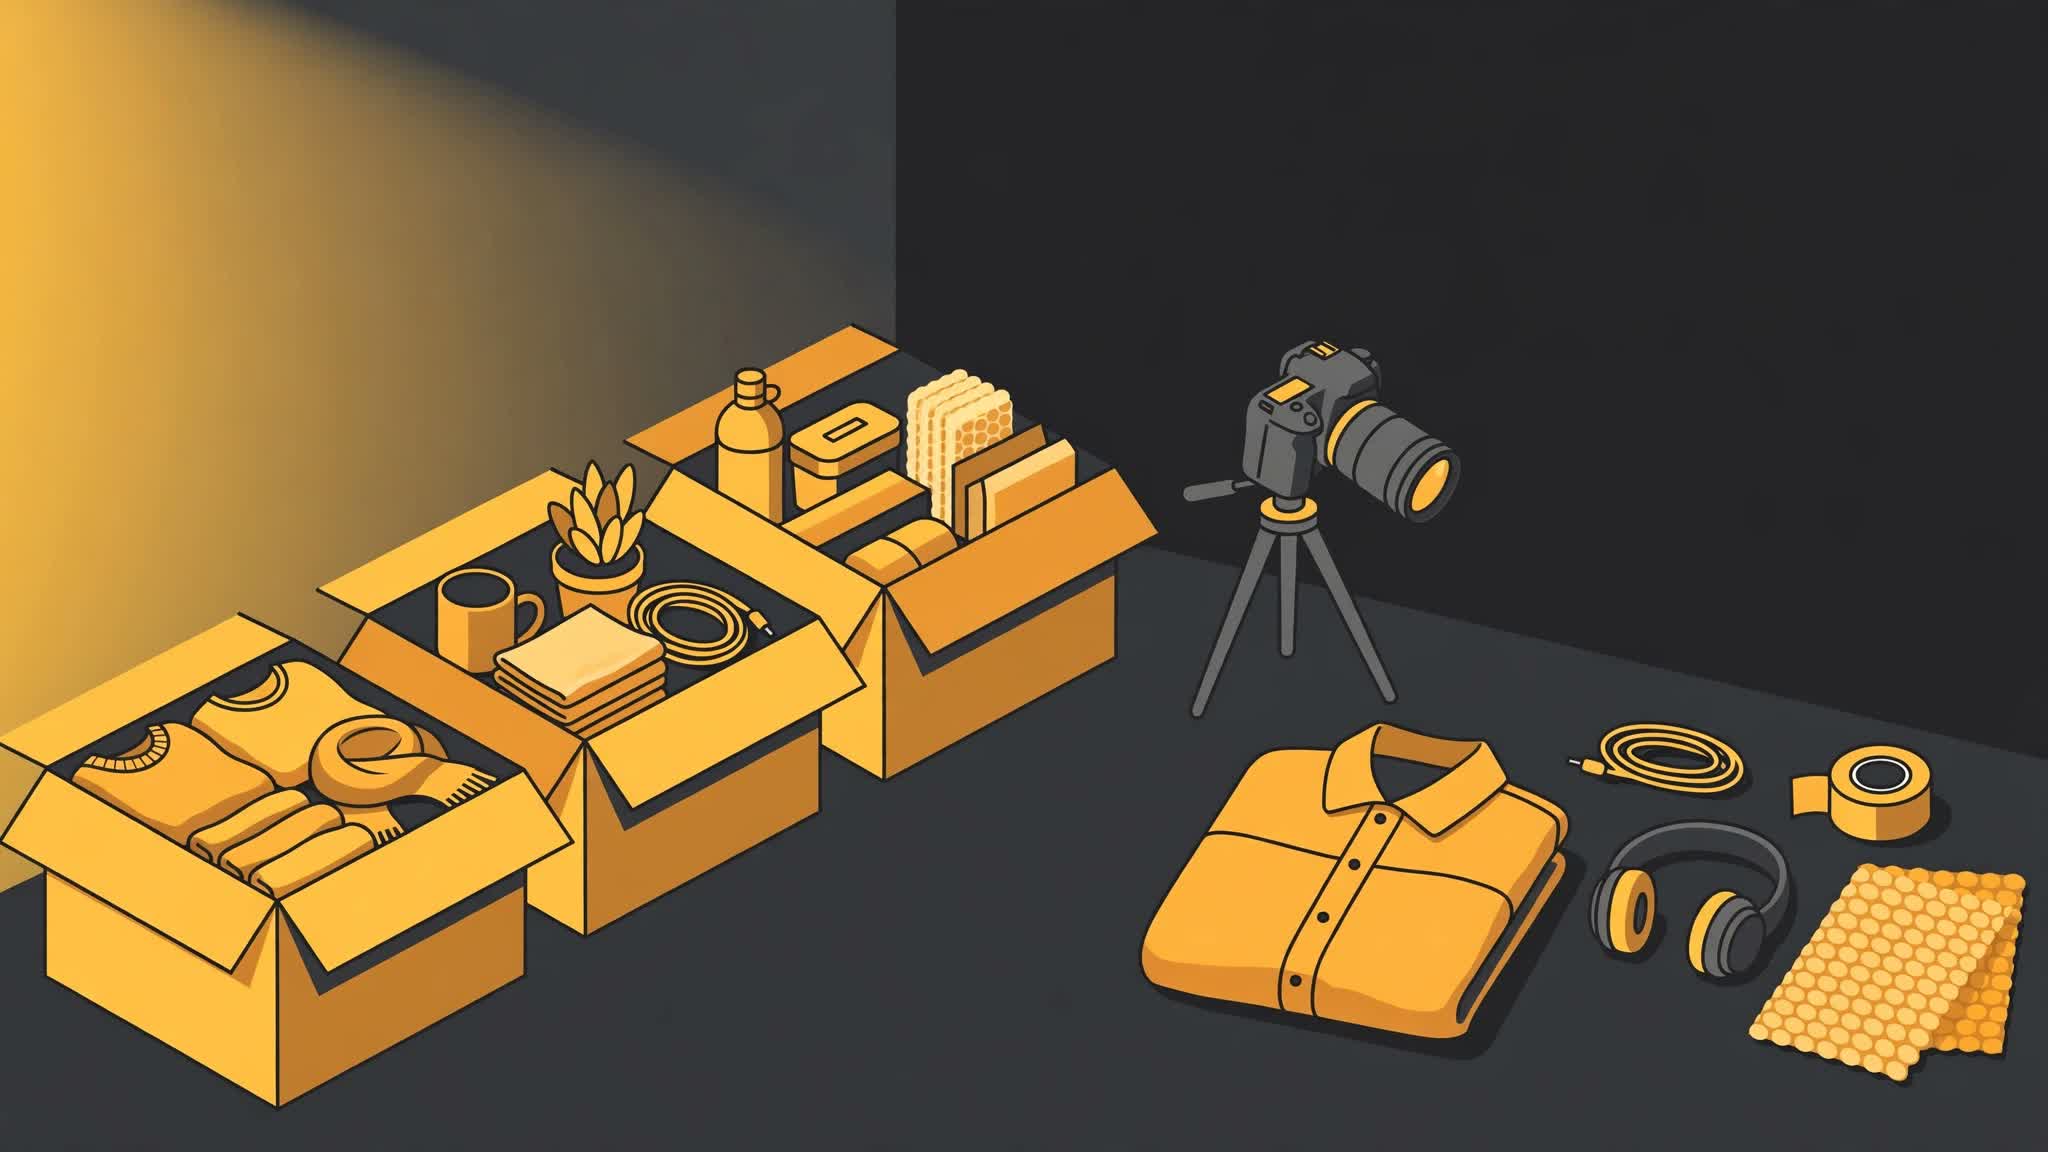
Most people look at a crowded closet or a garage shelf and see clutter. Sell a few of those things well and you learn something more useful than the cash. You learn how online selling actually works: what buyers search for, what a clear photo does, why honest condition notes prevent returns, and how shipping eats a small sale alive if you price it wrong.
That is the real value of this guide on how to sell your unused stuff. The first sales are decluttering with money back. Nobody should pretend otherwise. There is no inventory cost and no sourcing risk, because you already own the items. That makes your own house the safest training ground there is for the skills every reseller uses later: photograph, list, price, pack, and ship.
No income is promised here. What you get back depends on what you own, what condition it is in, and how much time you put into listing it well. Some households clear a useful sum in a weekend. Others find that most of what they own is worth donating, not listing. Both results are useful, as long as you learn them quickly and do not spend a month polishing items that were never going to sell.
What selling your unused stuff actually teaches you
Selling your own things looks simple because there is no product to invent and no supplier to find. The work is still real. A buyer does not care that an item sat in your spare room for three years. They care about the brand, the size, the condition, whether it works, and whether your listing answers their questions before they have to ask them.
That discipline is the point. A sloppy listing for your own jacket teaches the same lesson as a sloppy listing for sourced inventory, but the sloppy lesson costs you nothing except time. You paid for the jacket years ago. If it sells for less than you hoped, you have not lost fresh money on a bad buy. You have just learned what the market will actually pay.
This is why the idea sits in our list of 25 side hustle ideas for beginners. It is the lowest risk place to start. It is also honest about its limit: a house empties once. When the closets are clear, the income stops unless you learn to source items on purpose. Treat this as training and a cleanup, not as a permanent business, and you will judge it fairly.
Start with a room by room sweep
Do not start by wandering the house and grabbing random things. Work room by room, finish one space, and move on. A finished room gives you a clear pile to list and a clear space as proof the work is doing something. A half sorted house gives you mess in every room and no listings at all.
Start with closets. Clothing and shoes are easy to photograph, easy to ship, and easy for buyers to understand. Pull out anything you have not worn in a year, anything that no longer fits, and duplicates you bought because the first one was in the wash too often. Branded items in good condition, with the size and fabric clear in the listing, are the usual starting point.
Next, open the electronics drawer that every house seems to have. Old phones, tablets, game consoles, controllers, headphones, and chargers or cables for popular devices are worth checking one by one. Test each item before you list it. Charge it, turn it on, and note what works and what does not. An untested item sold as working is a return waiting to happen.
Then look at kitchen duplicates, books and media, and hobby gear. Extra small appliances still in good working order, solid cookware you never reach for, and complete sets tend to be easier to move than loose odds and ends. Hobby gear deserves a hard look: the exercise equipment, camera gear, musical instrument, or craft supplies bought for a life you are not living right now. If you are not using it, its value is sitting still while it takes up space.
Keep three piles as you go: sell, donate, and recycle or throw away. Do not let an item drift back into a cupboard because deciding felt awkward. The sweep only works if each item gets a decision the first time you handle it.
The keep or sell test
Use a simple test when you get stuck. If you have not used the item in a year, and replacing it later would cost less than what you could sell it for plus the space it takes up, sell it. If you use it rarely but replacing it would be expensive or difficult, keep it and stop arguing with yourself about it.
Sentimental items are exempt. A family item, a gift with real meaning, or something tied to a person who matters to you is not inventory. This is a money guide, not a push to strip your house bare. Sell the spare blender. Keep the things you would regret losing the week after they shipped.
What tends to sell, and what almost never does
In general terms, items that tend to hold up are branded, working, and complete. A known brand tells the buyer what they are getting. Working means you tested it, not that you assume it still works. Complete means the charger, remote, manual, case, or second part that belongs with it is in the box. Missing pieces do not always kill a sale, but they lower the price and must be stated plainly.
Condition matters more than age. A clean, well kept older item with clear photos often does better than a newer item that looks tired, stained, scratched, or stored badly. Buyers read photos as evidence. If the photo looks careless, they assume the item was treated the same way.
Be just as clear about what almost never sells well. Worn fast fashion with no brand buyers search for, outdated media formats nobody has a player for, incomplete sets, and broken items sold on hope are hard work for little return. Broken items do have a small market for parts or repair in some categories, but only when the listing says exactly what is wrong. Never dress up a fault as a feature. State it, photograph it, and price for it.
Do not quote a resale price for a specific item from memory or from an asking price you saw once. Asking prices are wishes. Sold prices are evidence. The next section covers how to use them.
How to price your unused stuff without guessing
Price from what similar items actually sold for, not from what sellers are asking now. On platforms that show completed or sold listings, look at several recent sales of the same item in similar condition. That range is your starting point. If your item is cleaner or more complete, price near the top of the range. If it has wear or a missing part, price below it and say why.
Price at or slightly under the common sold range when you want speed. Most beginners selling their own things want the space and the lesson more than they want the last extra dollar after three extra weeks of waiting. A fair price that moves teaches you the full process, including packing and shipping. An optimistic price that sits teaches you only how to look at a listing that is not selling.
Decide your floor before the messages start. Buyers will make lower offers. Some are reasonable. Some are not. If you know in advance the lowest price you will accept, you can answer quickly without resentment and without taking an offer you regret while packing the box. Below your floor, donating is often the better trade: no packing, no shipping, no messages, and the space back today.
Count the full cost of a sale before you call it profit. Platform fees, payment costs, packaging, and shipping all come out of the sale price in one way or another, and the exact fees vary by platform and change over time, so check the current terms on the platform you use rather than trusting an old figure from an article. Your own items have no purchase cost, but they do have a time cost. Keep both in view.
Listing your unused stuff so buyers can find it
Write the title around the words a buyer types. Brand, item type, size or model, and the one detail that separates yours from the rest belong in the title. Burying the brand or size in the description while filling the title with vague praise helps nobody find the item.
In the description, answer the questions a careful buyer will ask. State the size, measurements where size is not enough, materials, colour, condition, faults, and what is included. For clothing, measurements matter because sizes vary by brand and era. For electronics, state the model, storage or version where it applies, what you tested, and what is in the box. For furniture or larger items, state the dimensions and whether stairs or a lift are involved for pickup.
Photograph in plain daylight or bright, even light. Show the front, the back, any labels or model numbers, and close views of flaws. Include a photo of the item powered on where that proves it works. Do not hide wear and hope the buyer misses it. A flaw shown in a photo and named in the text rarely causes a dispute. A flaw discovered after delivery often does.
That same listing discipline carries straight into selling physical goods you made or sourced. Our handmade crafts guide uses the same basics: clear photos, exact measurements, honest condition or materials notes, and titles built around what the buyer searches for. The product changes. The trust habits do not.
List in small batches. Five to ten items photographed and listed in one sitting is manageable. Fifty items pulled out at once tends to produce a floor covered in clothes, a phone full of mixed up photos, and no live listings. Finish a batch, get it live, then start the next one.
Local pickup or shipping: choose per item
Use a simple rule. Heavy, fragile, or low value items usually belong in a local sale. There is no shipping cost, no breakage in transit, and no box hunt for an awkward shape. Furniture, larger kitchen items, and bulky hobby gear often fit here.
Light, branded, and easy to pack items usually belong online, where the buyer pool is much bigger. Clothing, shoes, small electronics, games, and collectable items can travel well if they are packed properly. A bigger pool matters most when the item is specific: the right buyer for a particular model or size may not live in your town, but they do exist somewhere.
Shipping basics that prevent losses
Weigh and measure the packed item before you list it, not after it sells. Guesswork on weight is how a small profit turns into paying extra at the counter. A basic kitchen scale handles most small parcels. For larger items, weigh yourself holding the item and then without it, and write both numbers down.
Keep boxes and padding from deliveries you receive, as long as they are clean and strong. Reusing good packaging cuts cost and saves a trip. Wrap fragile items so they cannot move inside the box. If it rattles, it needs more padding. Tape all seams, not just the middle of the lid.
Print labels at home where the platform offers it, and always use tracking where you can. Tracking protects you when a buyer says a parcel never arrived, and it protects the buyer when a parcel is genuinely delayed. Drop parcels off in a way that gives you a receipt or a scan record, and keep that record until the sale is fully settled.
Post promptly and say when you will post. Most buyer frustration is not about a parcel taking a few days. It is about silence. A short message that an item has shipped, with tracking, does more for your seller reputation than any clever wording in the listing.
Staying safe when you sell locally
Meet in a public place in daylight for smaller items, where other people are around. Many towns have designated safe exchange spots, often near a police station or a busy public building. Use one if your town offers it. Bring a friend for larger or higher value items, or meet where staff and cameras are present.
Do not give strangers your home address for a small pickup if a public meet solves the problem. For furniture or other items that truly require a home pickup, set a clear time window, keep the item near the door or in a garage where possible, and have another adult home. Trust the plain warning signs: pressure to rush, stories that keep changing, or payment methods that sound complicated are reasons to walk away.
Take payment in a form you can verify before the item leaves your hands. Count cash. Confirm a digital payment has actually arrived in your account, not just in a screenshot a buyer shows you. No sale is worth arguing about later because the payment was never real.
When donating beats listing
Some of what you own should go straight to donation, and treating that as a success matters. Clothing with wear, low value household goods, incomplete sets, and items with no clear buyer search behind them can take hours to list for almost nothing back. Donating them clears the space today, puts usable goods in front of someone who needs them, and saves your listing time for the items that justify it.
Use the same floor rule for items that have sat listed without interest. If an item has been live for a reasonable stretch, you have improved the photos and price once, and it still draws no real interest, the market has answered. Lower it once more, bundle it with a similar item, or donate it. Keeping a dead listing live for months does not make it more valuable. It just keeps the clutter argument alive in a digital form.
What cannot be sold or donated should be recycled or disposed of properly, especially electronics and batteries, which many towns collect through specific programs. Check your local rules rather than dropping them in general waste. Clearing the space cleanly is part of the win, even when no money changes hands.
Taxes and records, in plain terms
Keep a simple record from the first sale: item, date, where it sold, sale price, fees, and shipping cost. A notebook or a plain file is enough at this scale. The record settles arguments with yourself about whether the effort is paying, and it becomes essential if selling turns regular.
On taxes, state the general shape carefully. In the United States, selling a personal item occasionally for less than you paid for it is generally not a taxable profit, because there is no gain. Selling regularly for profit is different: that is business income, with records, expenses, and tax duties to match. Platforms may issue tax forms above thresholds that change over time, so do not rely on a threshold figure from memory or from an old article. Check the current official guidance, track everything once selling becomes regular, and get proper advice if it grows into a real business. This guide is not tax advice. It is a prompt to keep records early, while the numbers are still small and easy to track.
From clearing your house to reselling on purpose
Once your own house is clear, you will know whether you like this work. Some people enjoy the photographing, the pricing calls, and the small satisfaction of a parcel done well. Others find the messages and packing a grind and are glad when the last box leaves. Both answers are worth having, and you learned yours at almost no risk.
If you do like it, the next step is sourcing: buying items on purpose to resell them. That step is covered in full in our resell thrift finds guide, which picks up exactly where this one ends. Read it before you spend money on inventory, because the step change is real. Selling your own stuff has no cost basis and no bad buys. Sourced inventory has both. A bad buy sits, ties up cash, and teaches a harder lesson than a jacket that sold for less than you hoped.
Go into that next step with the habits you built here: check sold prices before you buy, photograph honestly, price from evidence, and track every cost. Those habits are the business. The sourcing is just where you point them next.
Who should skip the full effort
Skip the full listing effort if your unused items are genuinely low value bulk: worn basics, loose cables for devices nobody owns, incomplete odds and ends with no buyer search behind them. For that house, the honest advice is one donation run, a proper recycling trip for the electronics, and then move your time to a hustle with better hourly math. There is no virtue in spending a week listing items that return less than the cost of the tape you packed them with.
Also skip it, for now, if you cannot post parcels promptly or meet local buyers reliably. Late shipping and missed meetups undo the trust that good listings build. Clear the house by donation, and come back to selling when your schedule can support the follow through.
Your first weekend plan
On Saturday morning, do one room. Closet first is fine. Make the three piles, test anything electronic, and pick the best ten items for your first batch. Photograph that batch in one place with good light, write the listings from your notes, price each item from recent sold listings, and get the batch live before you start a second room.
Start with the room that bothers you most, sell what the evidence says will sell, donate the rest without a second round of guilt, and keep the records. If you want the full menu before you commit to one path, our 25 side hustle ideas for beginners lays out all the options side by side, including where selling your own things leads next.